Houdini Bullet Physics Tips
Houdini’s Bullet Physics implementation has been around for a while. The packed object workflow is quite intuitive it’s great having the ability to treat objects as particles and control their behaviour with POP nodes. There has also been a lot of work in the last few releases adding artist-friendly tools to automate some tedious and confusing parts of RBD like fracturing and constraint building.
However there is still a lot going on and it’s easy to get tangled in a mess of attributes, DOP settings, transforms and constraint networks.
This post covers a few small Bullet setups and outlines difficulties you might run into when creating them. Skip to the end for the Hip file.
Velocity Orient
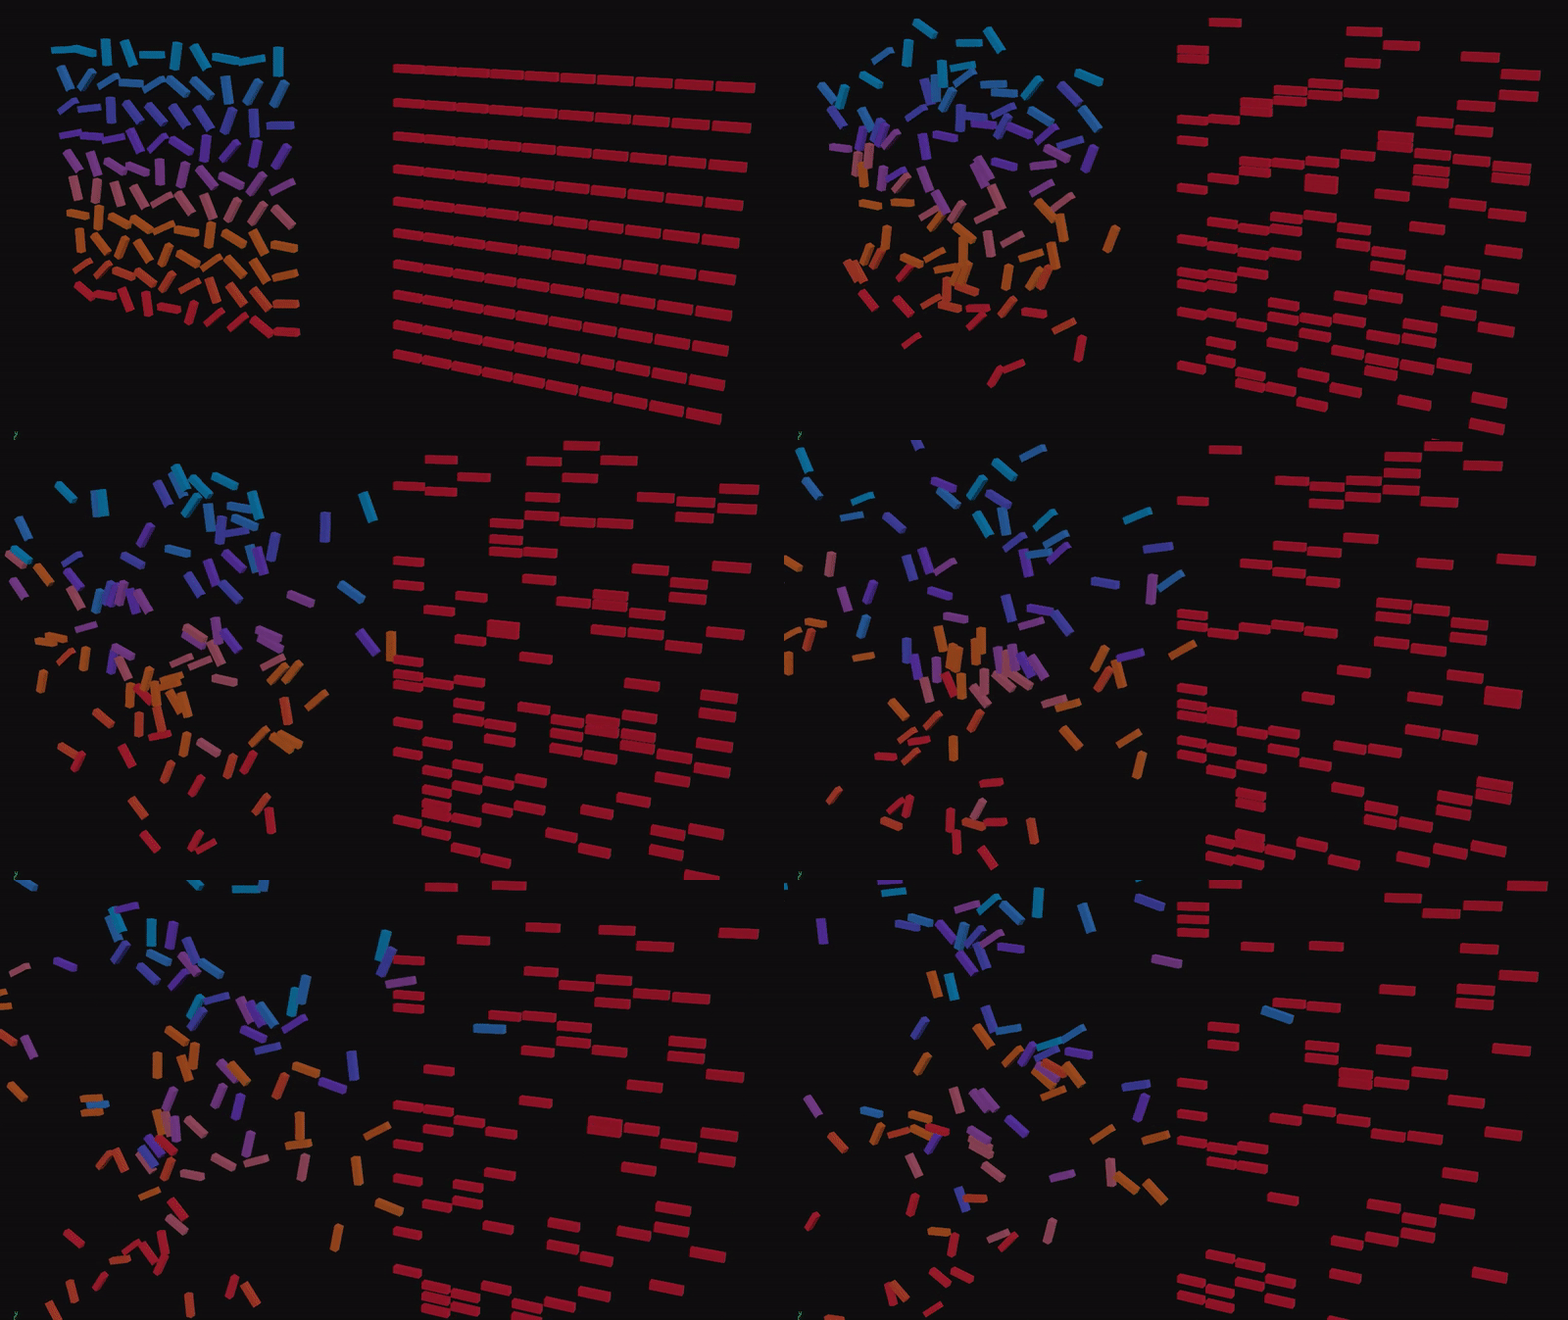
This is one of my favourite setups, particularly combined with flocking forces. You can get a similar result with POP Grains but I find the accurate RBD collisions add extra character, particularly in close-up shots.
POP Lookat comes with a VEXpression preset for ‘orient to velocity’ so it makes sense to use this. In my experience setting the method to ‘Spin’ works best.
This setup can be unstable. You usually want a POP Drag Spin to prevent angular velocity accumulating, but the targetw and spinresist attributes added by this node can lead to explosions. A POP Speed limit on the angular velocity is needed to prevent this.
You must also ensure the initial p@orient attribute on the packed RBDs matches the intrinsic transform. You can either copy this over during a copy-to-points or extract p@orient directly from the packed intrinsic transform pre-sim (which is probably more reliable).
Emission
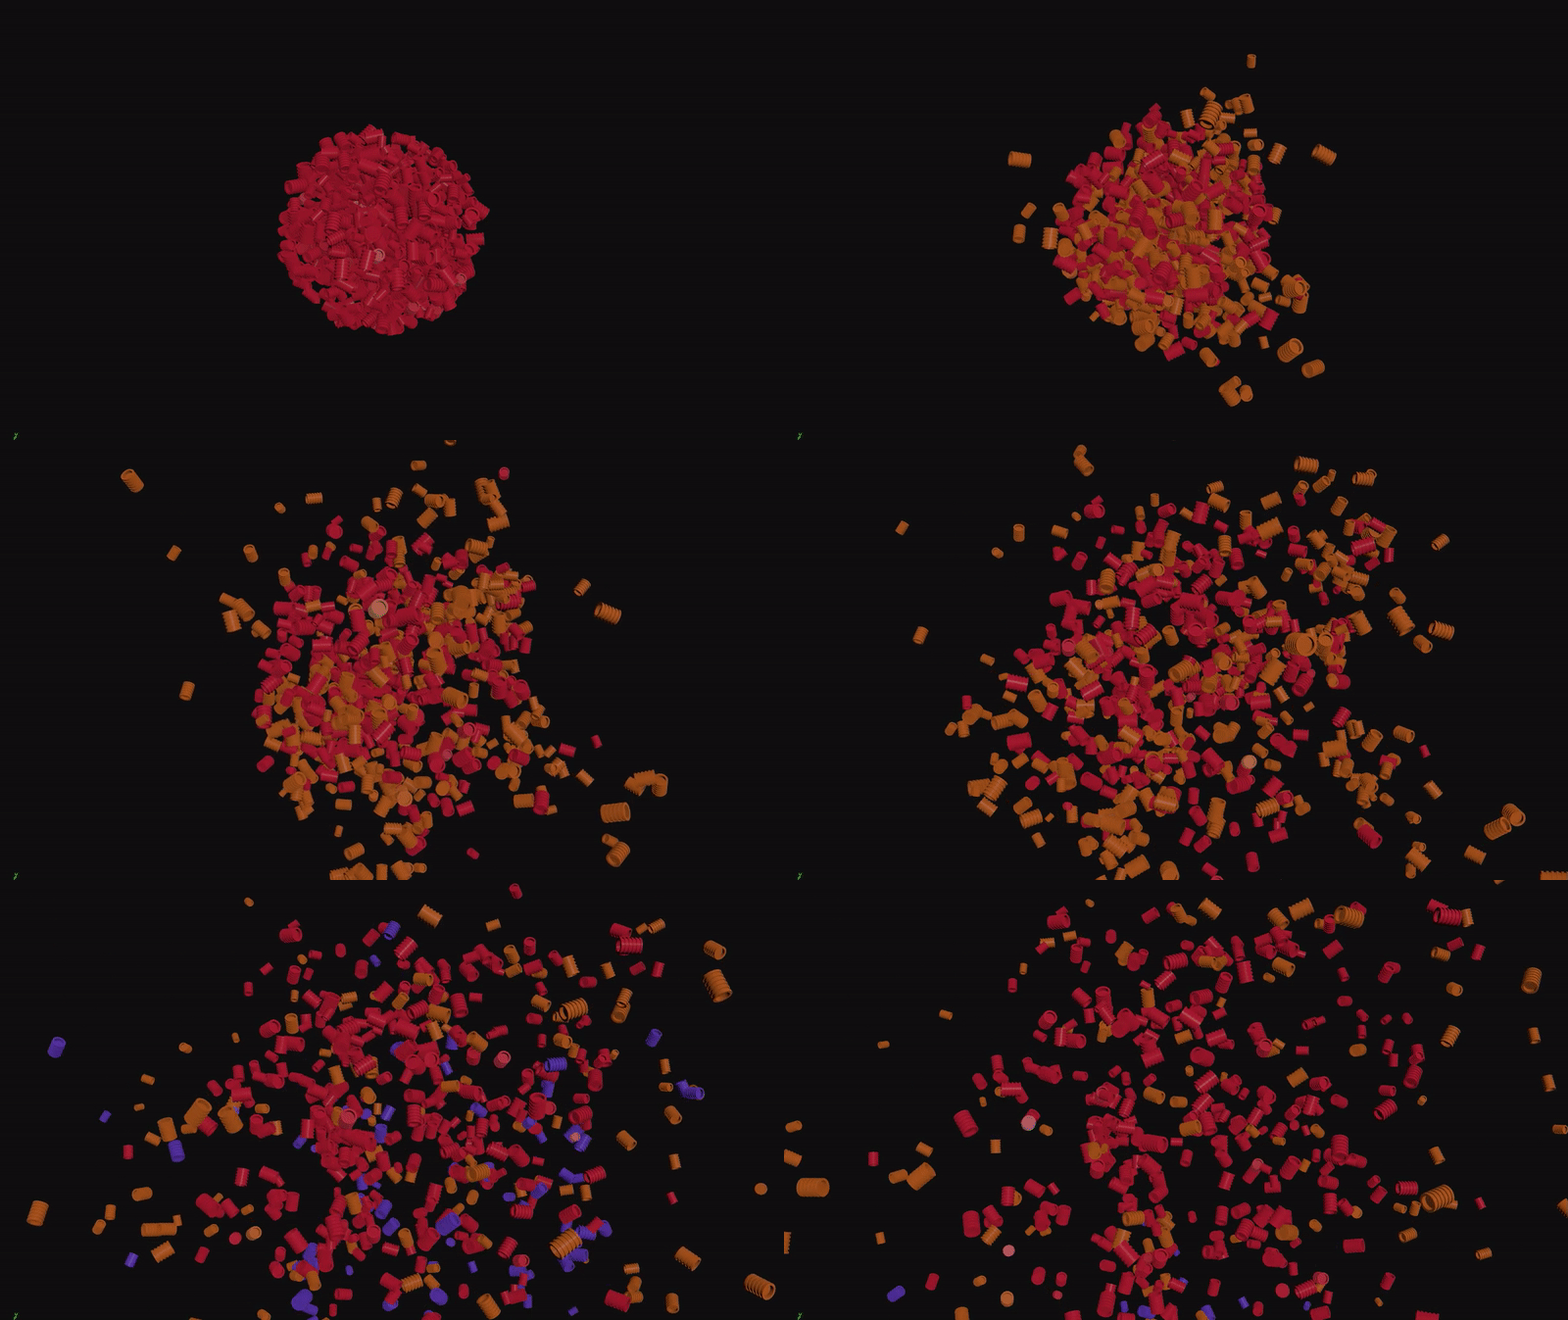
Packed RBD objects are essentially particles and you can emit them with a POP Source node.
By default a POP source will emit new objects into every RBD Packed Object present in your dopnet. To make sure emission only occurs for a single object you can open and tweak the POP source node. You could also create your own rbd emitter HDA from scratch using a SOP Solver, but this is a more involved.
The RBD object to emit into is controlled with a string match of the DOP Object Name.
Streams
Packed RBD objects can make use of most POP nodes, including streams. A stream is just a group – dive inside POP Stream and the only thing inside is a POP Group. You can also set stream membership in VEX with i@group_stream_mystream = 1;
Any branch of POP nodes which do not begin with a ‘POP Stream’ node will be applied to all RBD objects. Branches beginning with a POP stream apply only to the objects which they have filtered. Objects may belong to multiple streams.
Dynamc Object Scaling
There are plenty of examples out there on dynamically scaling objects during a sim. The process usually involves a POP Wrangle with cracktransform(), setprimintrinsic() and forcing i@id = -1;
The setup in my scene is a little more interesting as it uses non-uniform scaling and blends towards an external scale target. This offers much finer control than the usual examples where a uniform scale is repeatedly multiplied by numbers close to 1.
The trick here is the trs value in cracktransform() and maketransform(). Using the default XFORM_TRS setting will result in shearing effects. By cracking our transform with XFORM_SRT we ensure the scaling is based on the rest orientation of the object and not it’s current rotation in the sim.
Transform Blending
There are times where you want to interpolate objects towards a static target state but time reversing a sim of the target breaking apart just doesn’t look good. You might also have multiple targets to blend between.
Similar to the dynamic scaling example, we can adjust the intrinsic transform matrix to blend back to this state over time. You can blend the translational and rotational components separately.
Degrees of Freedom
Positional and rotational constraints can their number of ‘degrees of freedom’ limited. A degree of freedom is an axis about which an object may transform. Degrees of freedom are applied to a hard constraint.
Attributes to set on the constraint primitives are i@condof (constrained degrees of freedom) and v@condir (constrained direction).
constraint typecondof valueBehaviourPosition0Free Movement1Free to move on plane. condir defines normal vector to the plane2Free to move along line. condir defines the line direction3No translationRotation0Free Rotation1Free to rotate in 2 axes. condir defines the disallowed axis2Free to rotate around a single axis. condir defines the axis3No rotation
A Slider Constraint can make more sense than using degrees of freedom for movement along a single axis. You have control over the maximum slide length and allowed rotation about the axis. I’ve included an example of this in the Hip file.
Cone Twist Constraints
A Cone Twist constraint provies a finer level of control over rotational movement. It can be used for hinges, ropes or adding bend and deformation to fractured surfaces.
My example is a bend-resistent rope made from constrained spheres. In the Cone Twist Contraint Relationship node Data Options can be overriden by primitive attributes. The important ones to override here are the Twist and Up axes, which we can set based to the initial orientation of each sphere along the curve.
Other import settings are the Softness and Bias Factor. Unintuitively a softeness value of 1 causes no damping of the constraint within the rotation cone, whereas a value of 0 causes damping as soon as the constraint begins to deviate from the goal axis.
The Bias Factor controls how strictly the constraint is obeyed. The default value of 0.2 allows for significant movement outside the cone. Setting it to 0.5 will ensure the constraint is satisfied more strongly. Higher than this will be even stronger but may cause instability.
Sleeping & Rest
Bringing pieces to rest quickly avoids jittery artifacts and can reduce simulation time.
Rounded shapes like to roll and bounce. Although spheres and tubes sim extremely fast you may need to use convex hulls to help a large pile of pieces come to rest quickly.
Bullet has controls for sleeping. Objects which have moved or rotated by less than a threshold value, for a duration more than the ‘Sleeping Time’, will be deactivated and considered static. Increasing the the threshold values or decreasing the sleeping time will deactivate objects more aggressively. You can also manually deactivate objects by setting i@active=0.
Reducing velocity and angular velocity by a multiplier also helps. You might apply this custom drag only to objects under a threshold speed.
Notes
You may notice my packed RBD sources often include a pre-sim wrangle containing i@found_overlap=1. This forces the Bullet solver to separate overlapping objects fully on the first frame instead of sticking them together.
These tips stem from a mix of my own tests and sources such as Matt Estela, Steven Knipping and Henry Foster. For more info you should check out these experts.


